Learn how to efficiently remove a server that you’ve previously created in your Outline VPN setup with these step-by-step instructions.
1. Remove Related Key #
Before proceeding with the server deletion process, it’s crucial to remove any related keys associated with the server. Follow these steps:
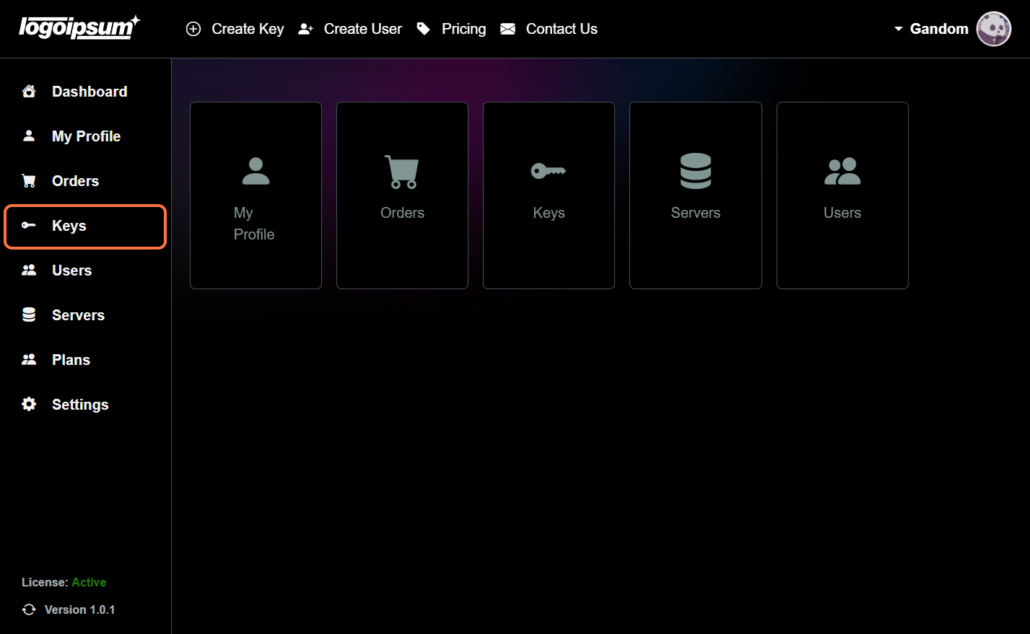
- Access your PanGuards Dashboard.
- Navigate to the “Keys” section within the dashboard interface.
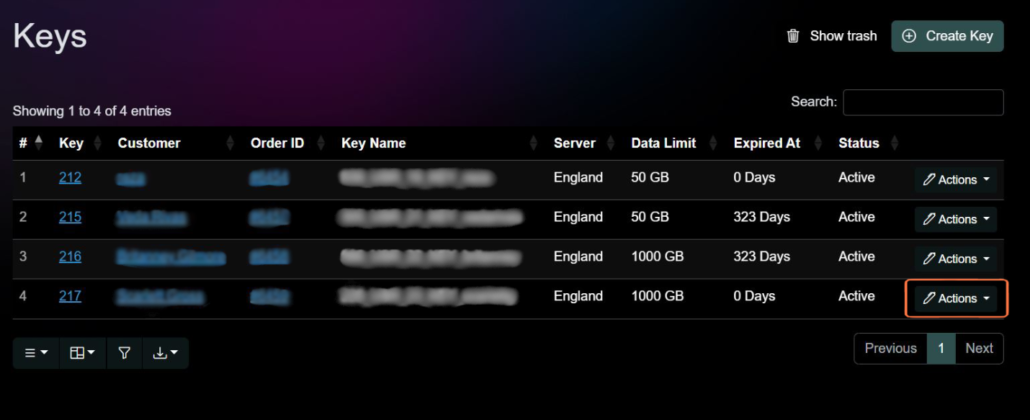
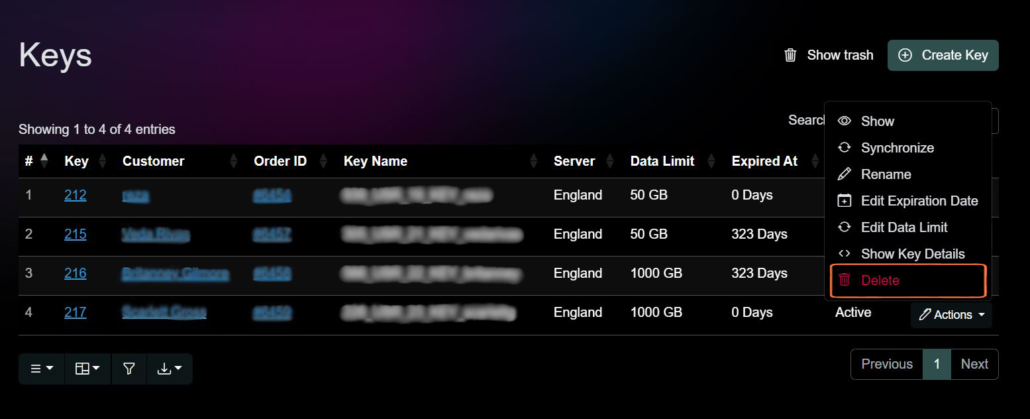
- Click on the “Action” button corresponding to the key you wish to remove.
- Select the “Delete” option to remove the key from your account.
2. Access Servers #
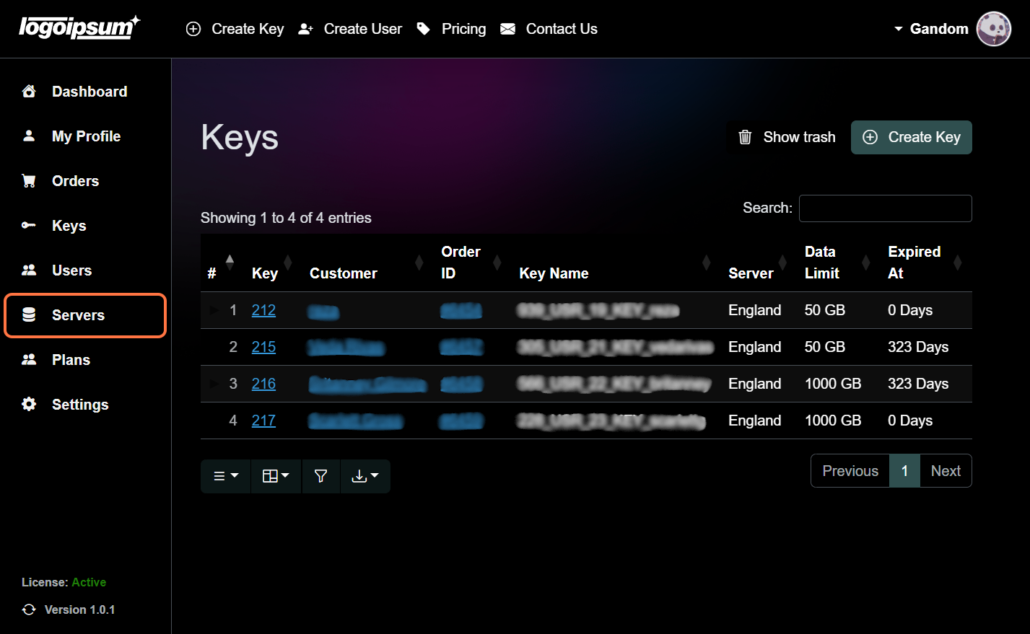
After removing the related keys, Click on the “Servers” from your PanGuards dashboard to access your list of existing servers.
3. Delete Server #
To initiate the server deletion process, follow these steps:
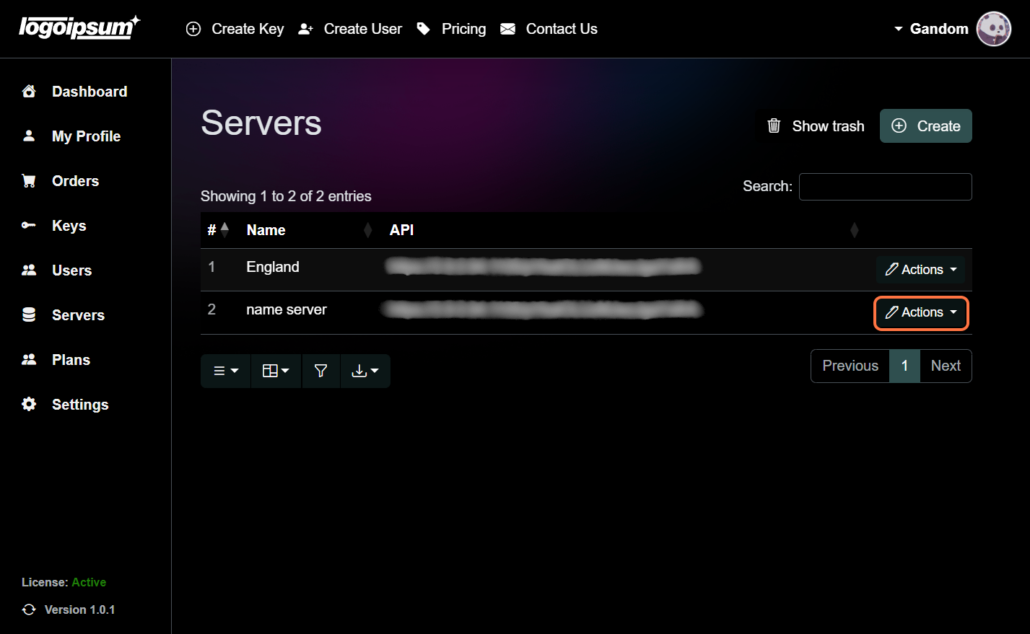
- Locate the server you wish to delete from the list of servers.
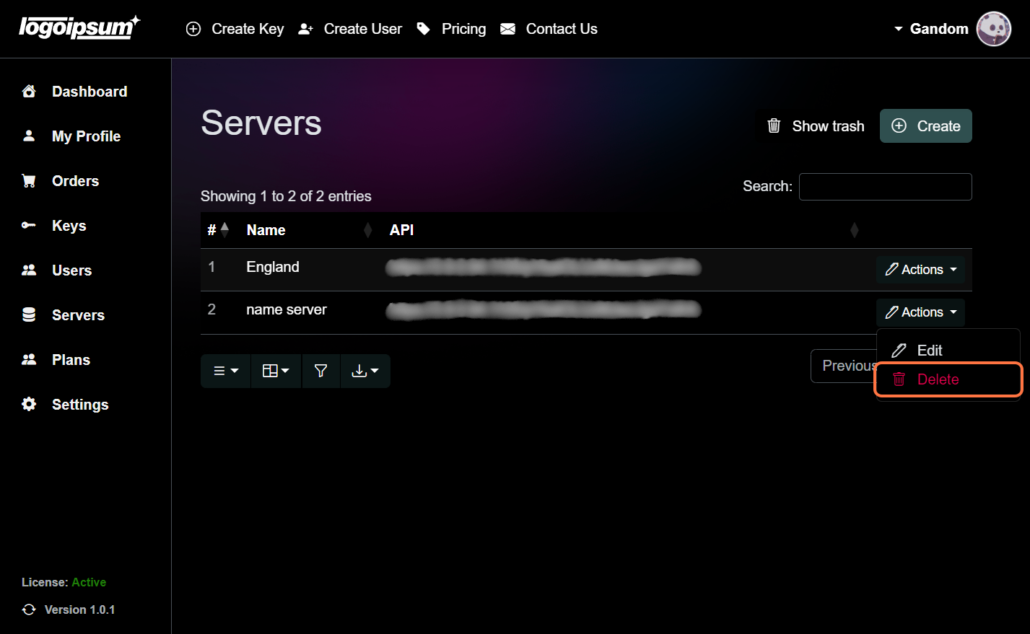
- click on the dropdown action trigger associated with the server entry.
- From the dropdown menu, select the “Delete” option.
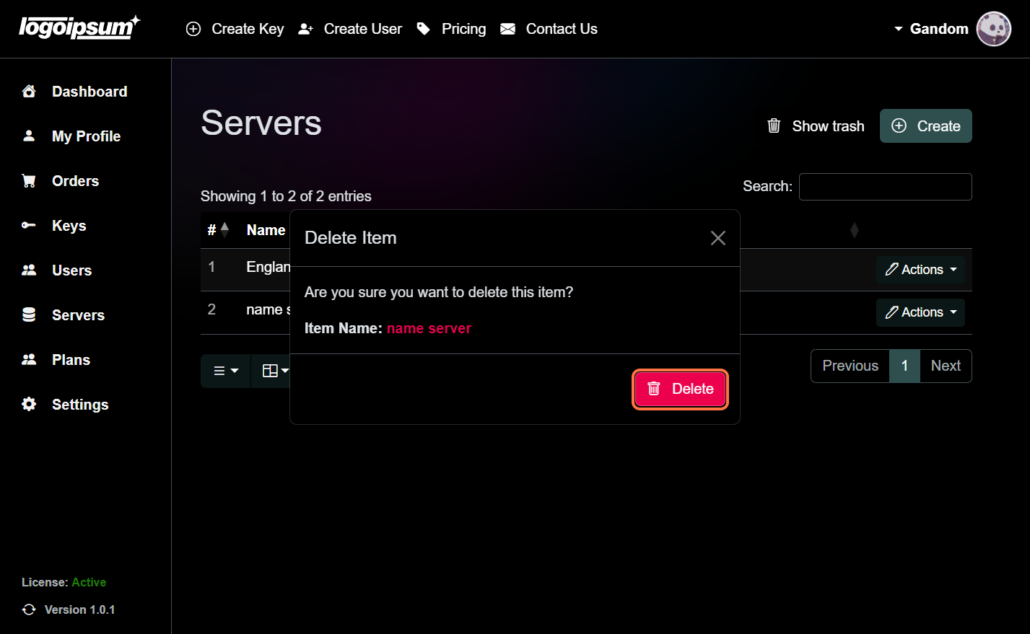
- Confirm the deletion action by clicking on the “Delete” button once again in the confirmation prompt.
4. Restore Deleted Server #
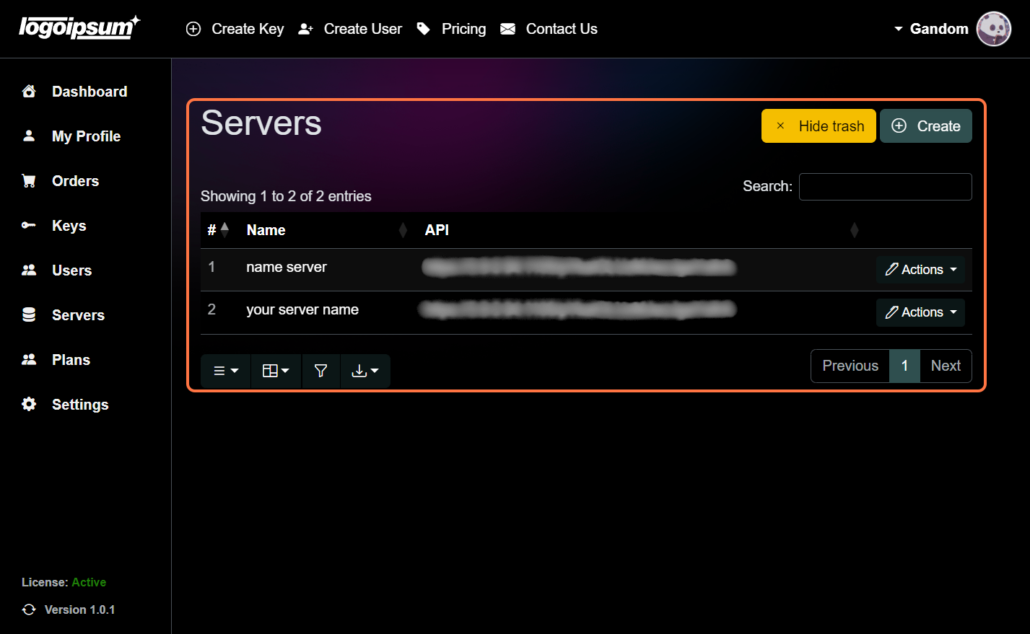
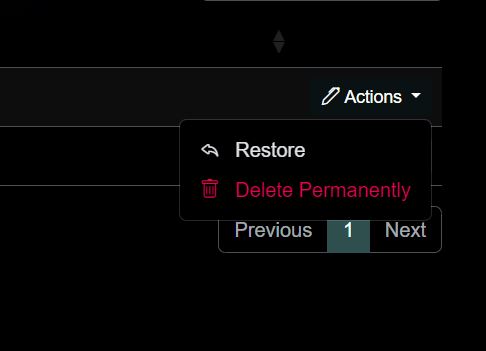
If needed, you can still access and restore deleted servers by navigating to the “Trash” section within your Outline VPN account. From there, you can select and restore any previously deleted servers. Click on the action button next to the server you wish to manage, and then select the option to either restore it to its original state or delete it permanently from your account.
By following these steps, you’ll remove a server from your Outline VPN configuration.


