Follow these steps to create a new plan for your PanGuards account:
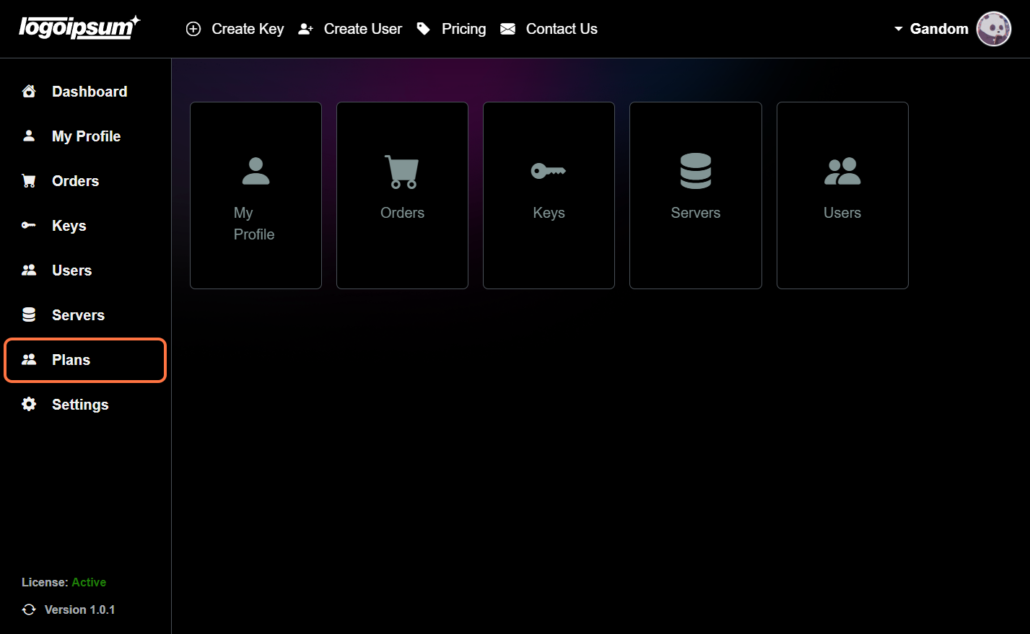
1. Navigate to Plans #
Begin by accessing the Plans section on your PanGuard dashboard.
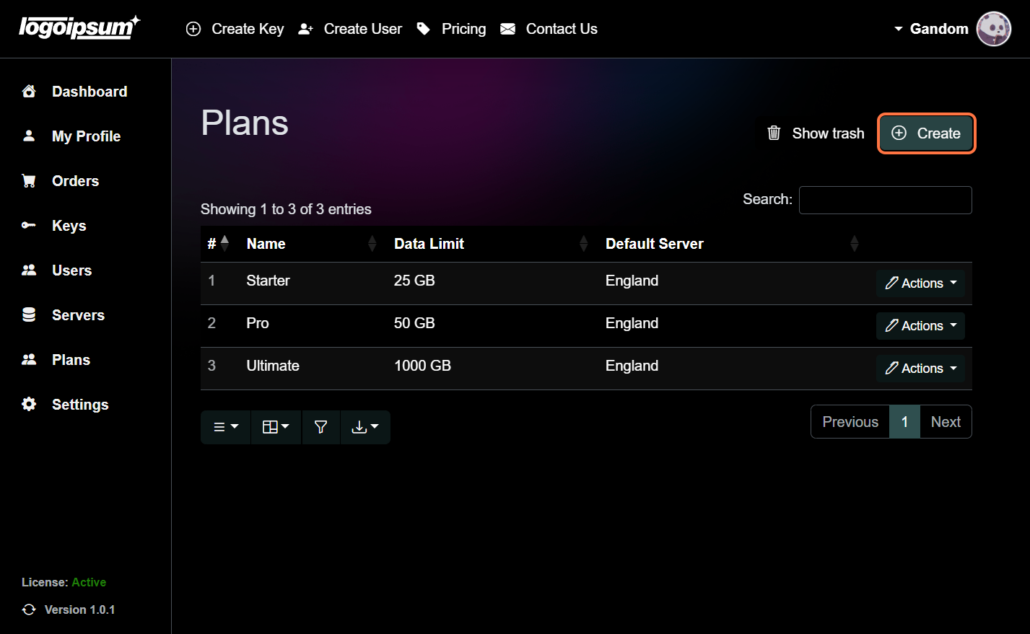
2. Click Create #
Next, click on the Create button to initiate the plan creation process.
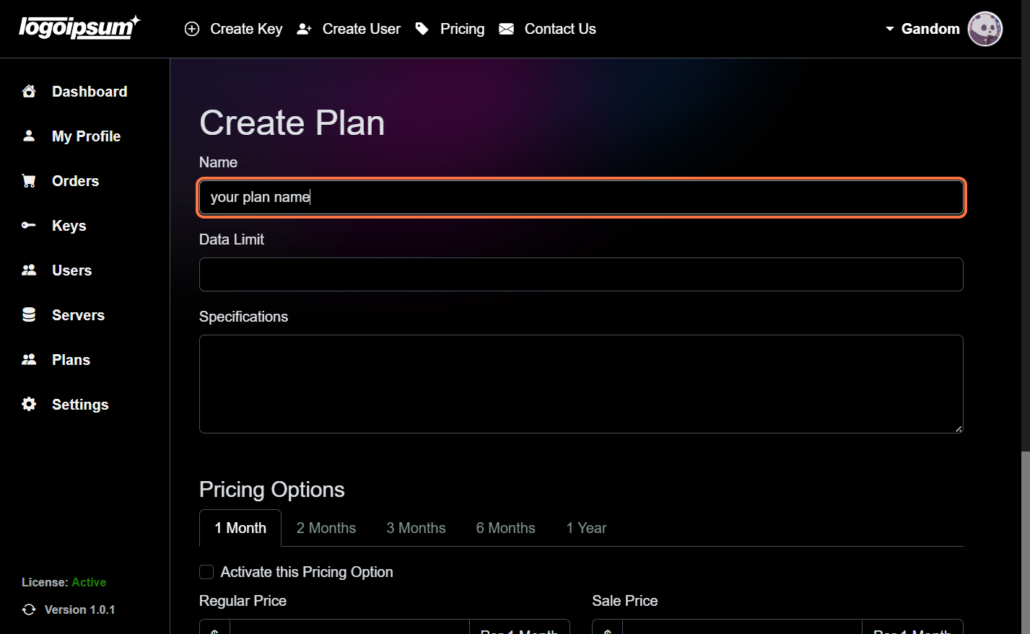
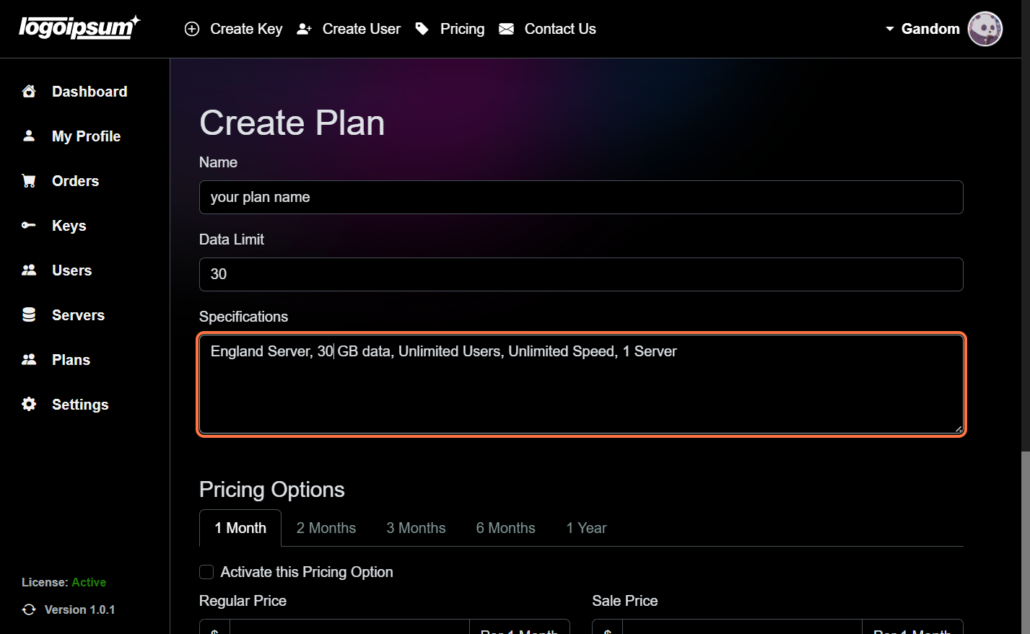
3. Choose a Plan Name #
Provide a descriptive name for your new plan to easily identify it.
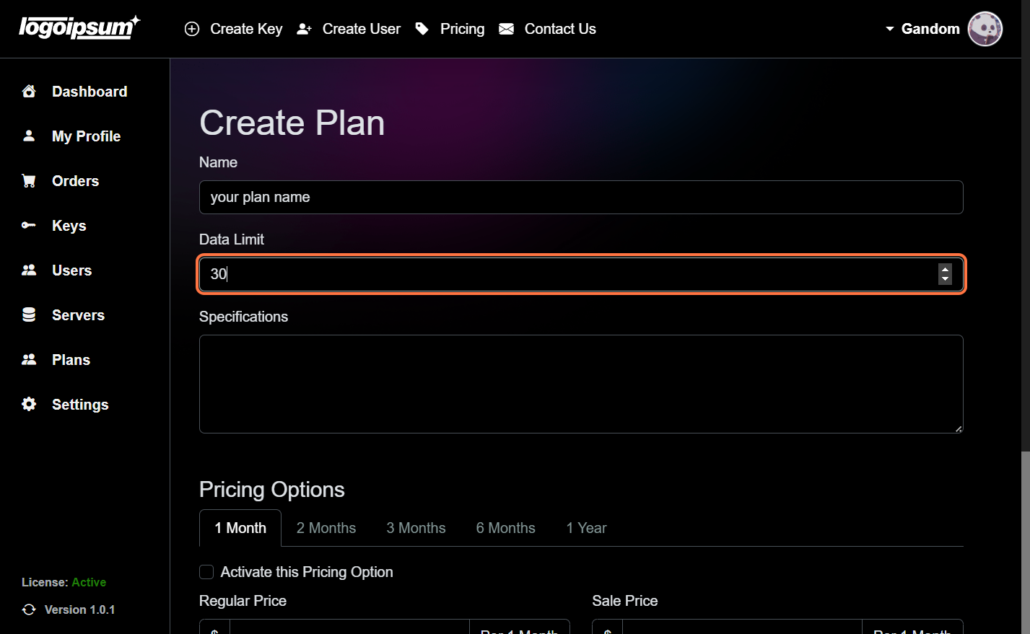
4. Set Data Limit #
Specify the data limit associated with the plan.
5. Write Specifications #
Write the details of the plan here and be sure to separate them with commas.
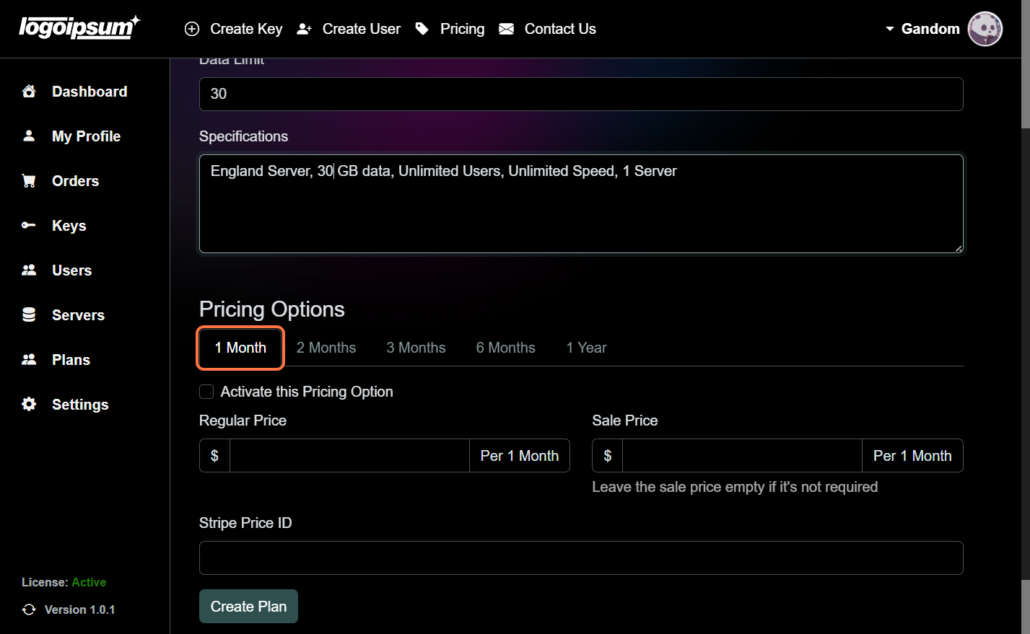
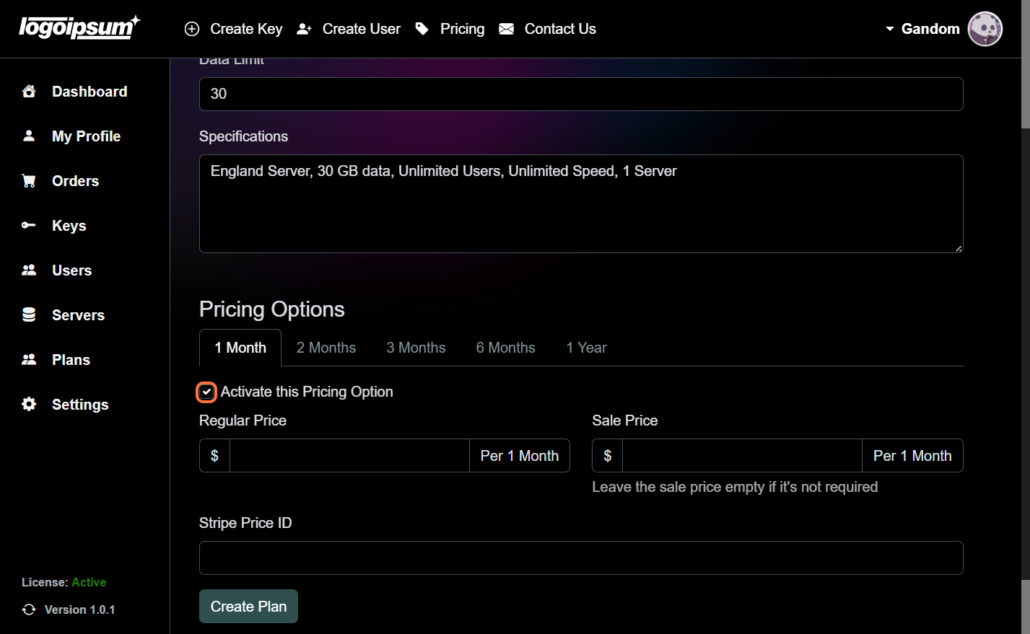
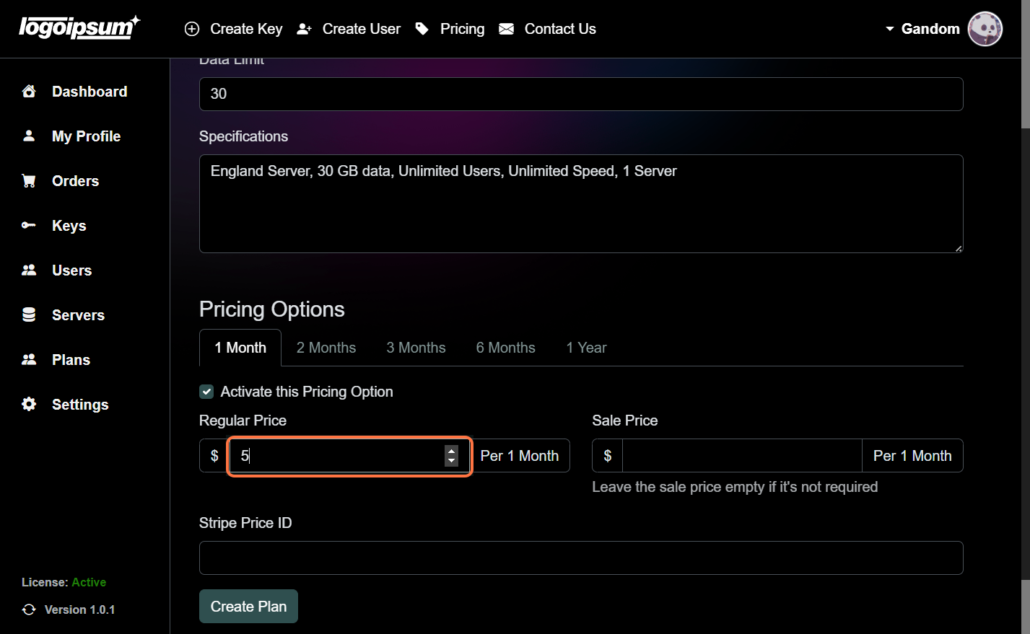
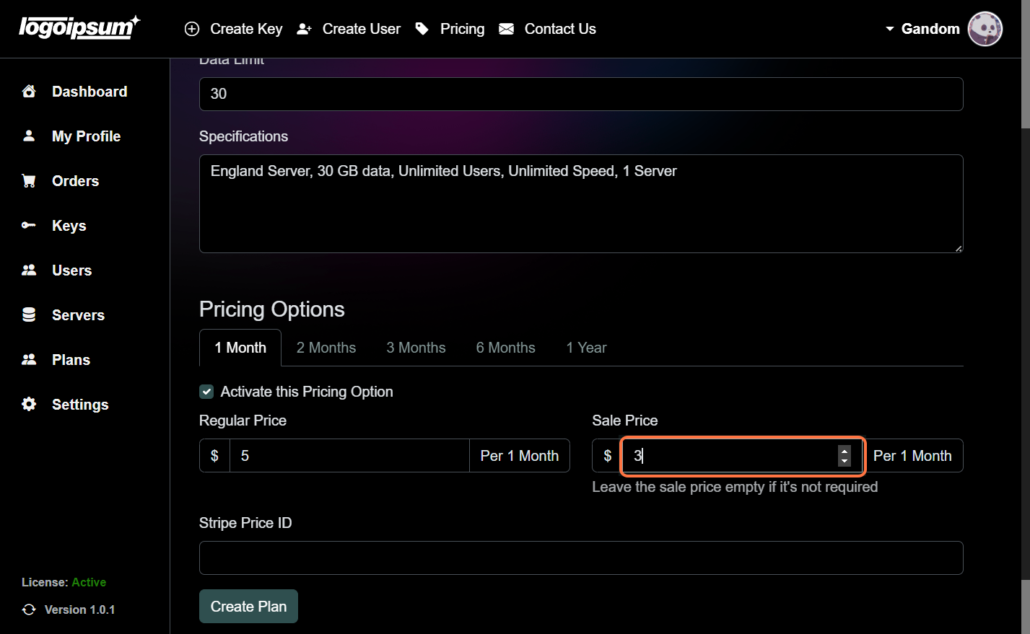
6. Set Pricing Option #
- Choose the Month: Select the billing period for the plan.
- Activate Pricing Option: Enable the pricing option for the selected billing period.
- Set Regular and Sale Price: Define the regular and sale prices for the plan for each month.
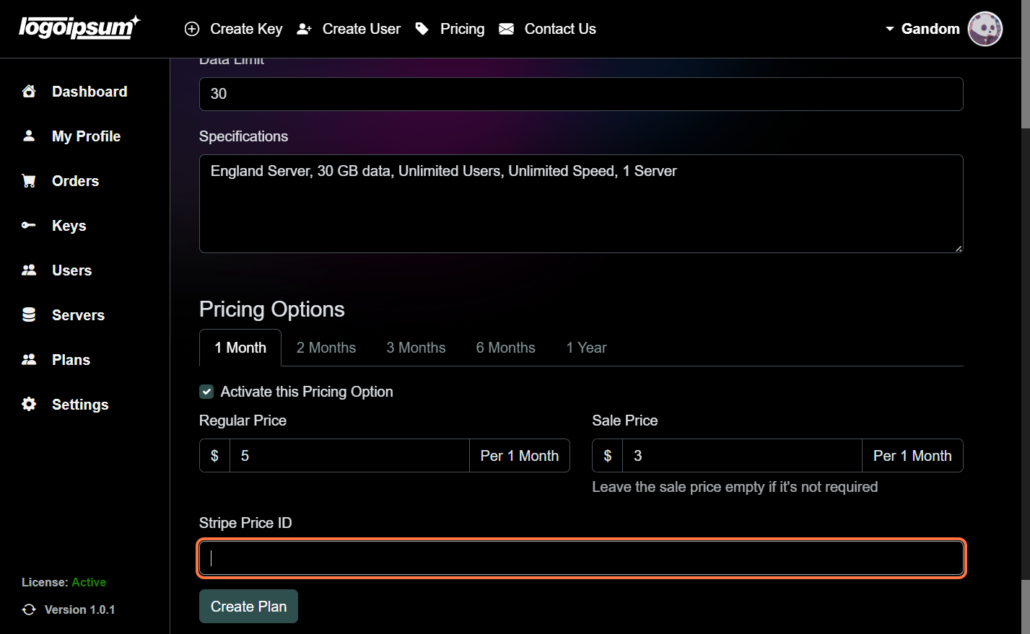
7. Stripe Price ID #
If you have Stripe integration enabled, paste the product code (Price ID) associated with the plan in Stripe.
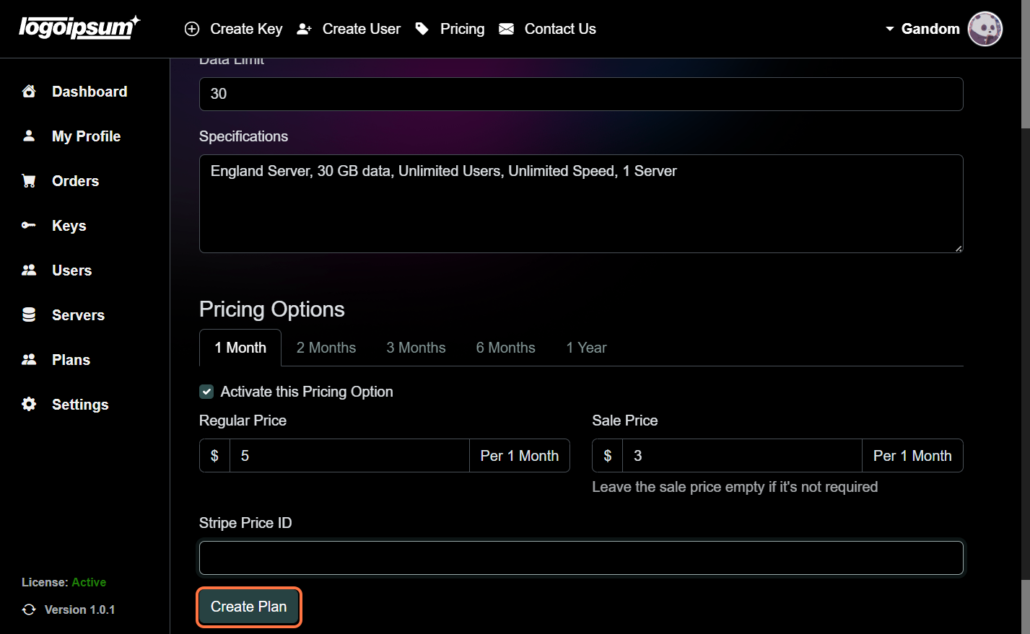
8. Click on Create Plan #
Once all details are entered, click on the Create Plan button to finalize the creation process.
By following these steps, you can create a new plan for your PanGuards account, offering your users a variety of subscription options tailored to their needs.


Leave a Reply