Follow these simple steps to create a new server in your Outline VPN.
1. Access your account #
Get started by logging into your account on the PanGuards platform.
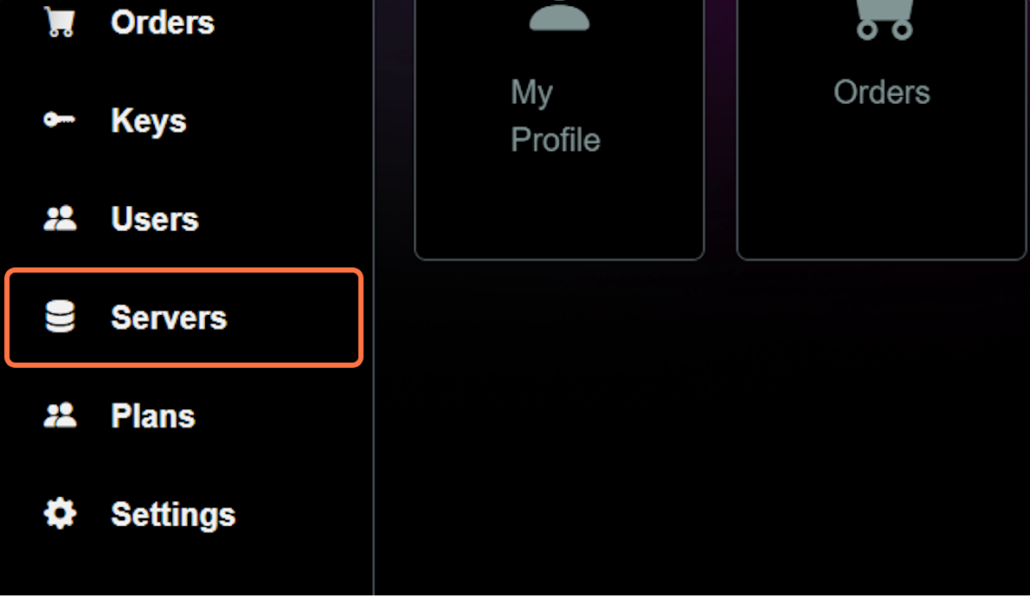
2. Go to the servers #
After successfully logging in, go to the “Servers” section located in the user dashboard interface. This section is very important to effectively manage your server settings.
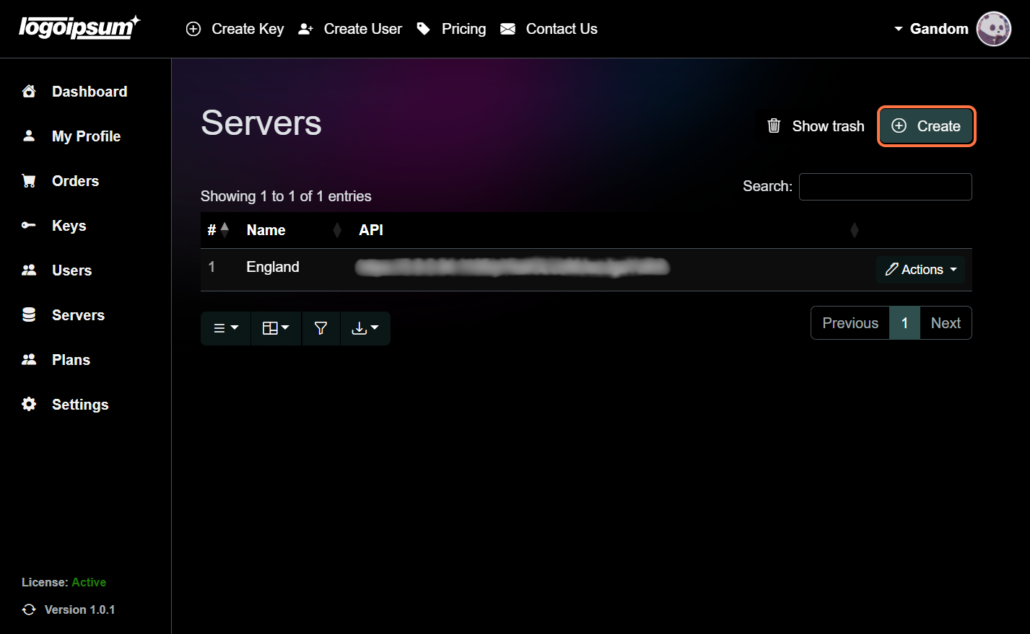
3. click on Create button #
To create a new server, click on the “Create” button to continue the creation process.
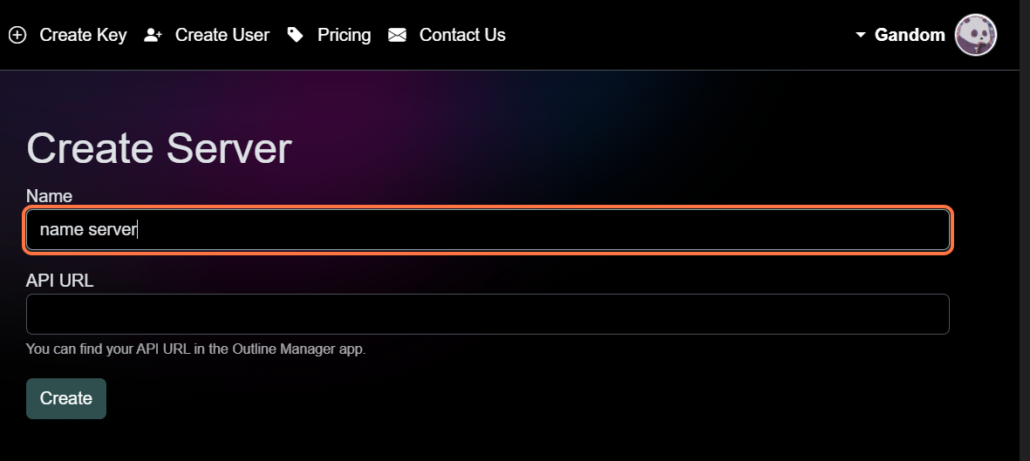
4. Type your name server #
Provide a distinguished name for your newly created server. This name acts as a reference point in your network and makes it easier for you to identify and manage the server.
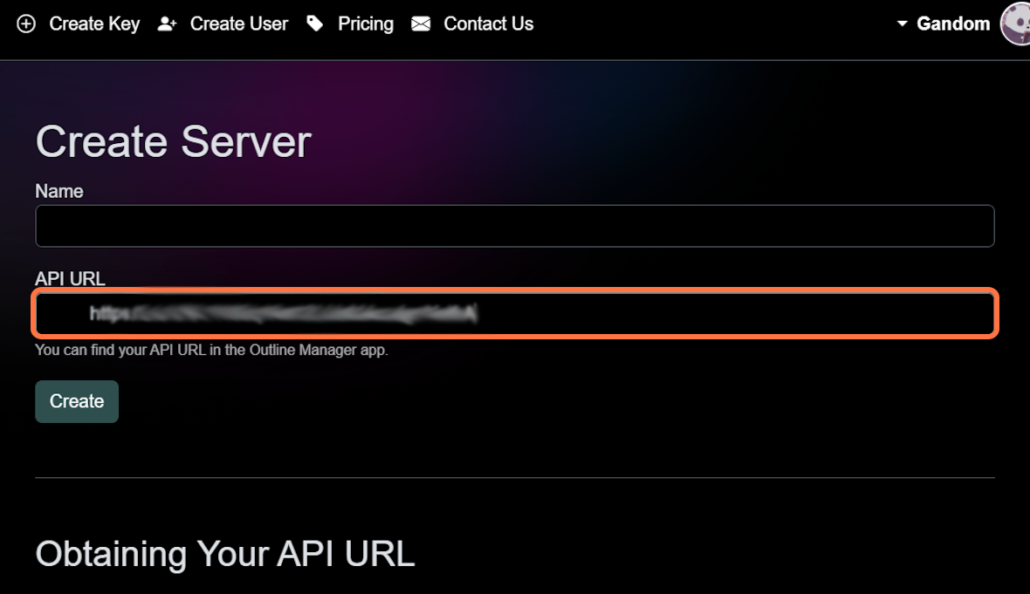
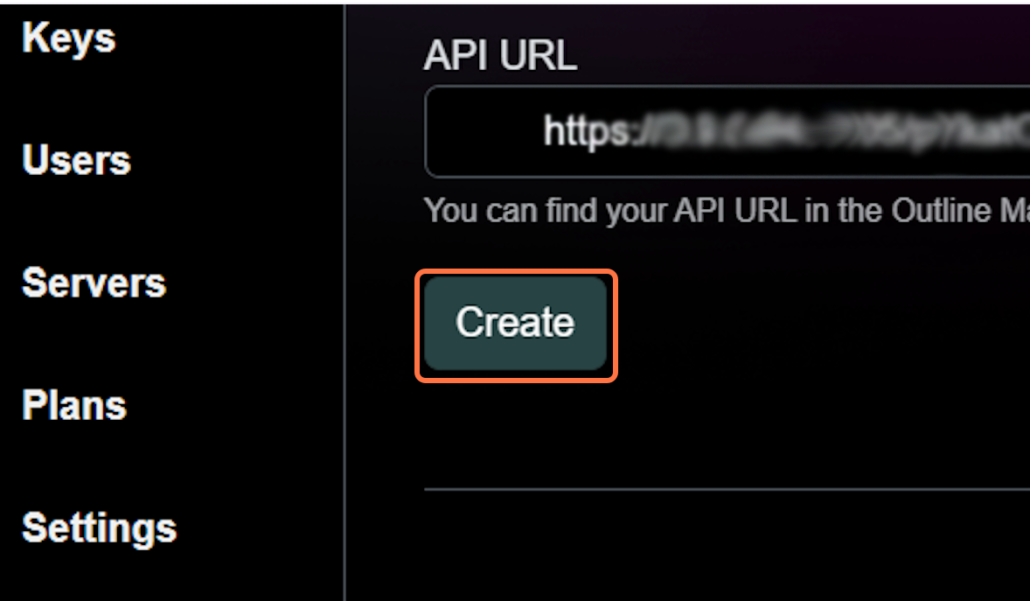
5. Click on API URL and Paste your API #
Find the “API URL” section and enter the relevant API URL associated with your Outline server. By following the instructions provided in the link below, you can set up your server and get the URL:
https://getoutline.org/get-started/#step-1
6. Click the Create button #
After pasting the API URL, continue by clicking the “Generate” button. This action finalizes the setup process and ensures that your server has been successfully added to your Outline VPN network.
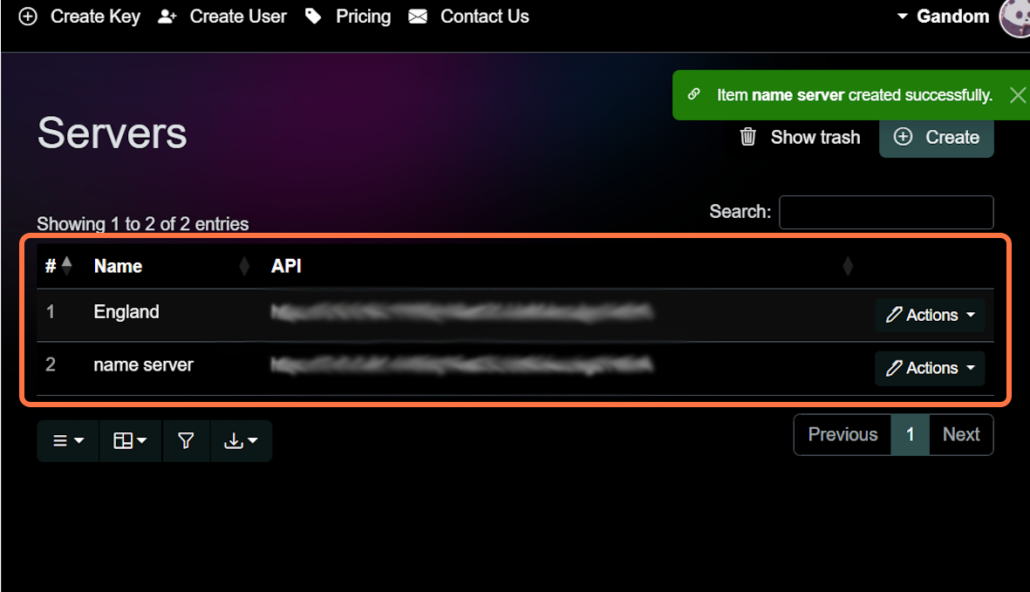
7. Server confirmation #
Once the creation process is complete, return to your list of available servers. Here, you will see your newly added server prominently displayed, confirming its successful creation.
By following these steps, you will add a new Outline server to your account.


Leave a Reply